Version Number: v1.0.0
Published Date: 13 Mar 2026
____________________________________________________________________________
Deploying a Jumpbox on Amazon EC2
Prerequisites
-
An active AWS account
-
The AMI ID provided by Edgescan
-
The destination IP address provided by Edgescan
-
Appropriate IAM permissions to launch EC2 instances
Steps
-
Sign in to the AWS Management Console and navigate to EC2.
-
Click on Launch Instance.
-
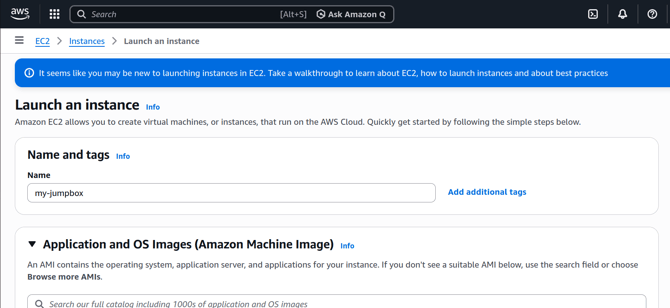
Give the EC2 instance a descriptive name.
-
In the Application and OS Images section, choose My AMIs, then Shared with me, then search for the AMI ID provided by Edgescan.
-
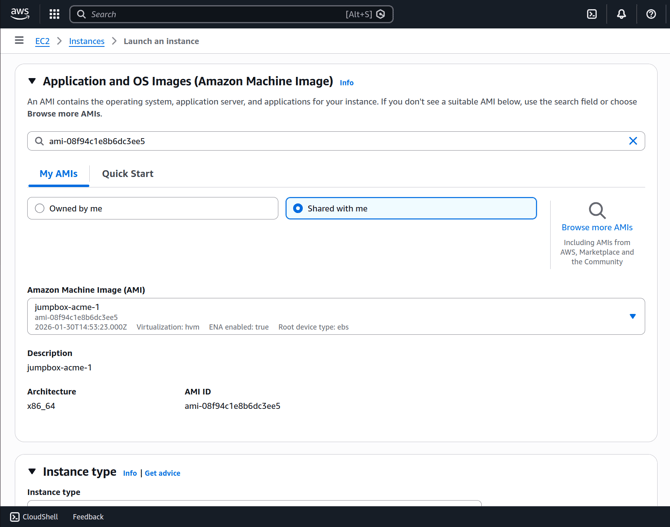
If there isn’t a My AMIs option available, then it usually means there are no custom AMIs available to you in your selected AWS region. Please check that you are deploying the jumpbox in the same AWS region you requested Edgescan to save the AMI to.
-
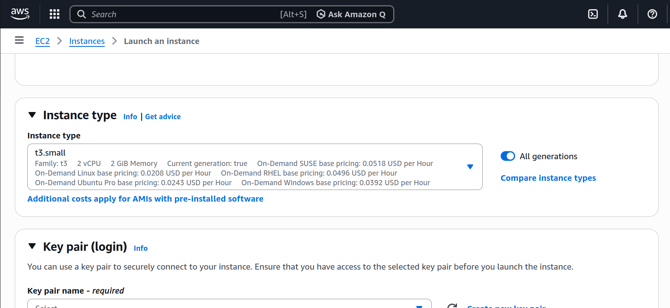
Select t3.small as the instance type. This is the recommended size for standard Jumpbox deployments.
-
In the Key pair (login) section, click Create new key pair. Give the key pair a unique name, select your preferred format (.pem for OpenSSH or .ppk for PuTTY), and click Create key pair. The private key file will download automatically—store it securely as you will need it if SSH access to the Jumpbox is required.
Note: If your organization has their own rules on key creation and management, follow their guidelines instead.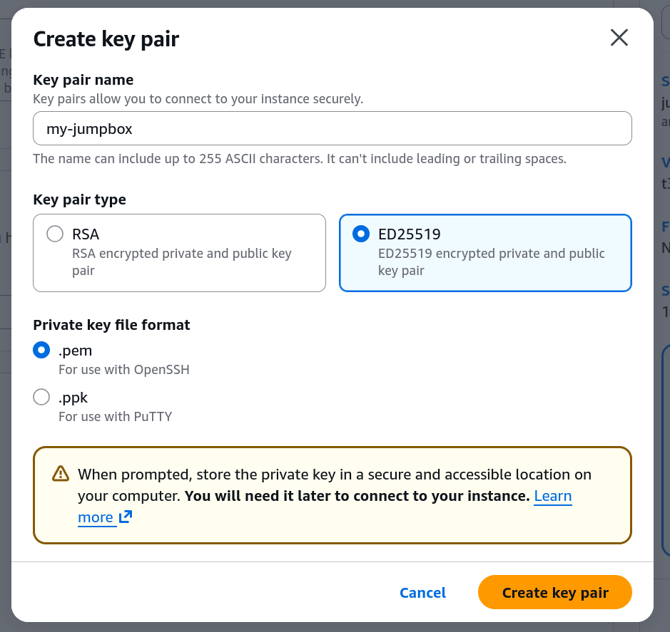
-
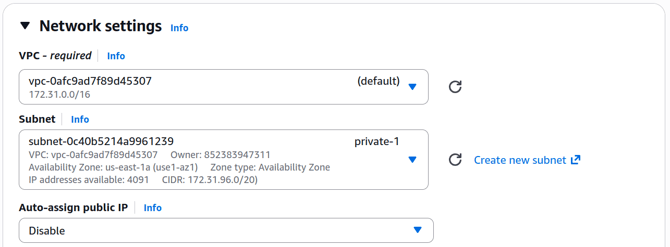
In the Network settings section, select the VPC and Network Subnet you wish to deploy the jumpbox. You should select a private subnet (not a public one!) with access to the subnets you wish the jumpbox to scan.
-
Still in Network Settings, create a new security group or select an existing one that has an outbound rule with the following settings:
-
Type: Custom TCP
-
Port range: 9801
-
Destination: The IP address provided by Edgescan
-
-
Also, ensure that the jumpbox has a security group that allows it access to the network subnets it needs to scan. The EC2 Launch wizard will, by default, suggest allowing access to 0.0.0.0/0 (i.e., access everything).
For more detailed information about AWS security groups, read the official AWS documentation at https://docs.aws.amazon.com/vpc/latest/userguide/vpc-security-groups.html . -
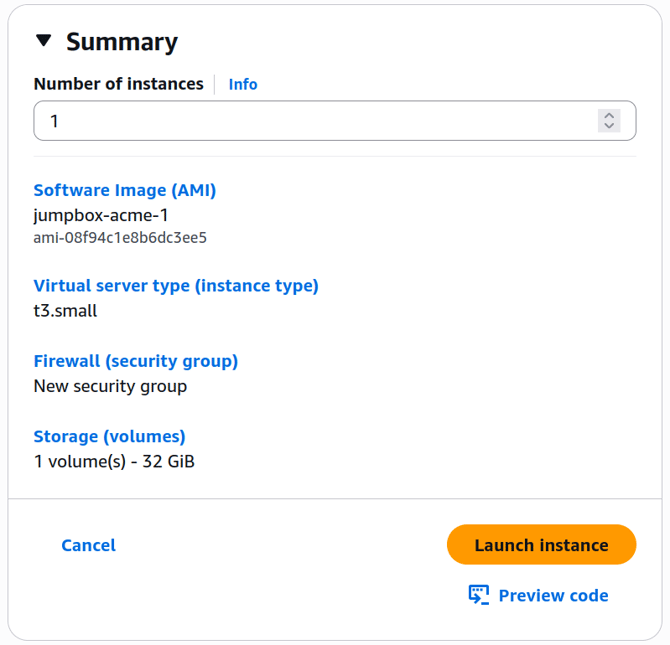
Review your settings and click Launch.
-
Your Jumpbox instance will now launch. Once the instance state shows Running, the Jumpbox will automatically attempt to connect to the Edgescan platform.
For advanced EC2 configuration, including VPC setup, elastic IPs, and IAM roles, refer to the AWS EC2 Documentation.